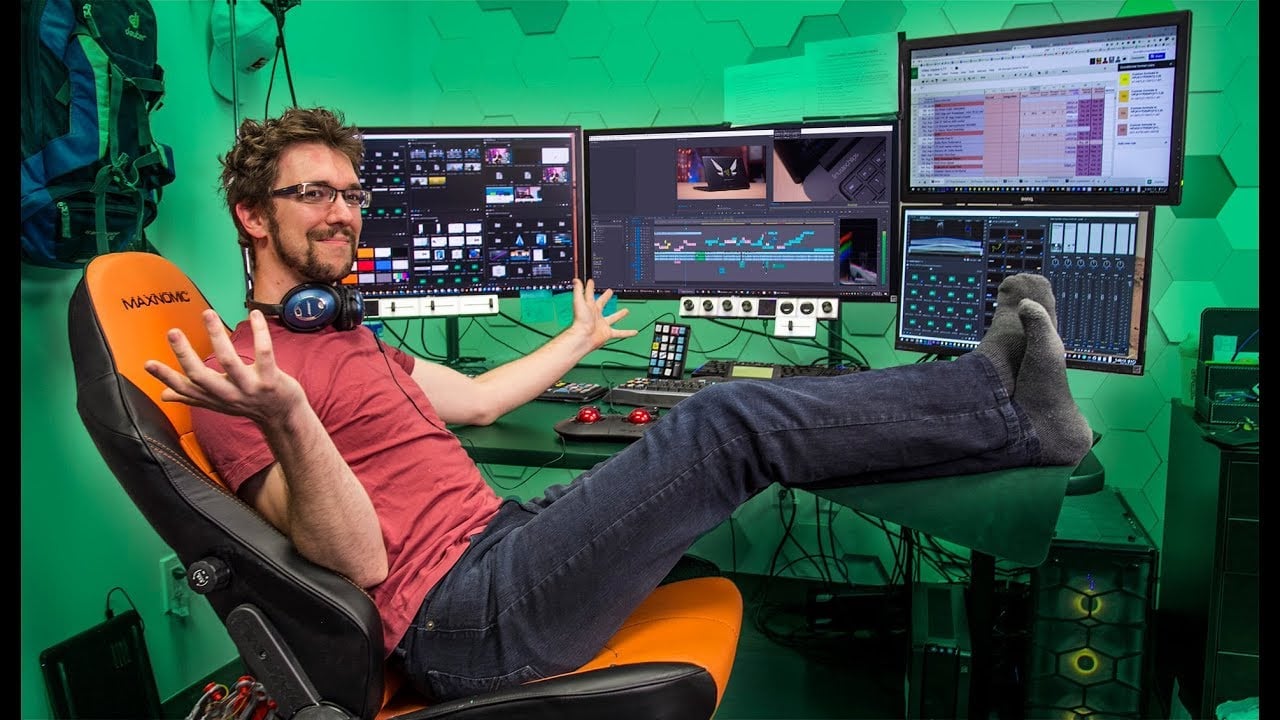
Boy, I sure do love four-hour-long tutorials on YouTube. They cover a lot, and many of them offer a good starting point for beginners as a result of that. But here’s the thing: while most are great for beginners, where are the ones great for advanced professionals? Long, specific, high-level tricks and tips to push someone from an intermediate level to a master. These are rare, but as far as Premiere goes, there is one video I can recommend. The World’s Most Advanced Video Editing Tutorial by Taran Van Hermet.
Introduction
I need to emphasize one thing ahead of time: This video isn’t for beginners. Seriously. If you’re only starting out, you’re better off going for a beginner Premiere tutorial. It might not sound so tempting, but trust me; you should go about learning slowly so you can appreciate all the info here to its full extent. Otherwise, some tricks won’t seem so important, and you might skip or neglect them, missing out on potentially useful knowledge.
If you are already familiar with Premiere Pro, then I’ll just give you a quick context summary before we begin. Taran was the main editor of LTT (LinusTechTIps), one of YouTube’s largest tech channels, for years. While there, he often had to work and release a video on the same day it was shot. This means he had to work at insane speed to keep up the pace, which birthed a plethora of time-saving techniques. Some of these are workflow techniques, some are useful extensions, and some tricks are just the result of abusing AHK (Autohotkey) to its absolute limit. I’ll cover the extension as we go through this article, but for now, let’s talk about AHK.
What is AutoHotkey, and why you should absolutely give it a try
AHK is a scripting language that I used quite extensively throughout the years. What does it do? Well, the condescending answer would be “everything, basically.” but that doesn’t explain much. So here’s an actual answer: AHK is a scripting language that lets you make macros for your applications. The reason why it is so amazing is that you can use it to make macros for just about every function you can think of. Want to open a specific application or document with a keyboard shortcut? No problem. Want a shortcut that will immediately google search whatever text you’re highlighting? Easy. Want to switch the F5 button with the F6 button on your keyboard? If your keyboard is broken and you have no choice, I guess you can do that too.
For video editing, the power of a tool like AHK should seem immediately obvious. As a video editor, you must like keyboard shortcuts. I feel as though there is a written rule about this somewhere. So, the ability to make a keyboard shortcut for literally anything you can manage to put in a script might sound like giving video editors an elixir of omnipotence. It isn’t, but it will undoubtedly save you a lot of effort, clicks, and, most importantly, time.
Taran created many AHK scripts for his workflow, and so did many others. Luckily, Taran left a link to his Github page, where you can grab all of his scripts and many others.
Using Premiere project templates
If you edit in a constant style, you really should consider using templates. Templates are just pre-created premiere projects that you leave empty, except for a few assets you keep using throughout your projects. When it’s time to work on a new project, just copy the template file, change its name, and open it. Now, you have a baseline to start with instead of working from scratch. This should save you a couple of minutes at the beginning of each project.
The template can contain an SFX folder of SFX you often use, and the same goes for music, graphics, and any other asset you use constantly. One neat trick Taran showed off is to keep adjustment layers ready in the template media bin.
Workflow tips
What shocked me the most during this video was that I saw Taran finish a video, and miraculously, the A-roll had only five cuts in it. To me, that is nothing sort of amazing. Granted, a big reason for this is Linus, the speaker in that clip, who has been doing this job for years. He got really good at going through the script without much need to rephrase himself. Still, something that I noticed when Taran edited the A-roll and, later, the B-roll was the lack of extra clips.
There is about enough B-roll to only cover what’s needed. Because LTT carefully preplans every shot and notes it in the script, there is less time wasted for both the cameraman and the editor. Whereas a beginner might redo the A-roll multiple times and have a ton of access B-roll, LTT makes sure the editor won’t drown in too many clip options, so the editing process will be quicker. In fact, the cameraman is also responsible for returning to the script, finding the highlight in the script, which has a comment explaining the b-roll shot, and writing down the file name so that the editor will know exactly what file to place in that part of the script. This speeds up the workflow and reduces the potential for errors.
Even if you do have a lot of footage yourself, this is a lesson to not force yourself to use as much of it as you can. Only ever use what you need, or else you’ll spend countless extra hours going through it all when you don’t necessarily have to.
Random tips and tricks
I might have missed a few, but here are some neat tips and tricks I learned while watching Taran edit:
- If you want to show an image but it doesn’t have enough resolution, make it a part of an image with a larger resolution. This way, you may even have enough resolution to do a zoom animation.
- You should start and end a video with your best shots
- If a project is slow, copying everything in a sequence to a new sequence may solve the problem. (It’s hard for me to say if it was changed since Premiere 2016, which is the version he used in the video).
- To adjust the timing of a clip, you can use a speed ramp to speed up the parts of the clip in which the camera is moving between two subjects, as no one will notice a change in speed.
- Graphics aren’t supposed to have their speed changed, so don’t use a tool like the rate stretch tool to do so.
- Unrenderd audio can slow things down, so you might wanna try to render it to reduce lag
- If there is still a chance you’ll be using a clip, disable it instead of deleting it from the timeline.
- Occasionally, adding SFX to B-roll shots is a good way to boost engagement.
- Use “Show audio time units” to zoom in on the timeline and make adjustments shorter than one frame (great for precise audio cuts).
- You should have three to five glam shots of the subject, just in case you need them.
- If you added just the video and not the audio of a clip, or vice versa, and you need the other part, just double-click on it to open the full clip and drag it in.
- Push the limit in the History panel so you can go back to 100 steps if necessary.
- Enable ripple sequence markers in the marker menu. If on, ripple trims will move markers with the clip.
Conclusion
It’s not surprising that a four-hour video has so much information to write down, but I didn’t manage to cover everything. I didn’t cover Taran’s Premiere preferences or keyboard shortcuts, but you can see them for yourself in his video.


