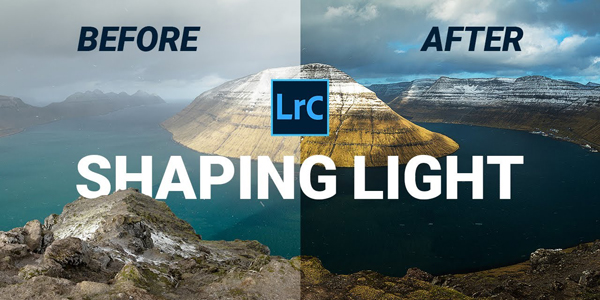
Photography is all about maximizing light, and landscape photographers are always at the mercy of prevailing conditions. The quick tutorial below demonstrates how to make necessary adjustments in Lightroom when Mother Nature fails to cooperate.
German landscape pro Christian Mohrle is a favorite among Shutterbug readers for his straightforward shooting and editing tutorials that are illustrated with inspiring photos. For today’s episode he uses a rather flat panorama shot, but his tips apply to just about any photos you shoot outdoors.
We suggest that you download the sample image using the link beneath the video so you can follow along and make the adjustments yourself in real time. Mohrle’s goal is to add a dramatic mood, and he begins with a few basic enhancements to prepare the photo for what follows.
The first step is changing the profile from Adobe Color to Adobe Standard. This provides more control over contrast. As Mohrle says, “The poor contrast is what makes this Raw file so boring. He also brings down exposure, drops the highlights, and pumps up the whites to further increase contrast and slightly brighten the image.
Now the image looks more like what Mohrle envisions, and he completes the global adjustments by slightly raising blacks to increase details in the shadows, and increasing vibrance, clarity, and texture. He quickly straightens the skewed image, and now it’s time for selective adjustment to specific portions of the scene.
This next step involves a simple masking technique that begins with a liner gradient to adjust clouds in the top left corner of the shot. A quick Luminance Range mask further improves this area of the photo. Another mask over the foreground improves brightness and whites.

All that’s left to perfect the image is a bit of sharpening and color grading. For the latter he heads to the HSL panel for targeted adjustments to brightness, luminance, and specific colors. A quick cleanup in Photoshop and the transformation is complete.
You can find an abundance of landscape photography tips by visiting Mohrle’s instructional YouTube channel, so pay a visit and subscribe.
And don’t miss the earlier tutorial we posted with a Lightroom trick for fast and precise HSL adjustments.


