
One of the greatest things about film photography is its friendliness toward do-it-yourself approaches. Want to hack together a working camera out of discount hardware store supplies? All the power to you! Want to shoot on art paper coated in a home-concocted emulsion, contact-printed using authentic techniques from the 1800s? Why not?
Okay, those kinds of DIY jobs might be a bit extreme to the casual photographer, especially so to those that haven’t been dabbling in analog media for too long. However, there is one DIY film photography technique that functions as a sort of gateway drug, if you will: easy enough for the bare beginner, yet rewarding enough to spark significant curiosity.
And that technique, which we will be focusing on today, is the art of making your own film development chemicals by means of a process called caffenol.
First popularized in the 1990s, caffenol has quickly become the standard by which other DIY film development processes are measured.
The reasons for that are self-evident. Caffenol is cheap and environmentally friendly, and the basic recipe is not particularly challenging. Nor do you need to worry much about safety precautions when working with caffenol – at least not nearly as much as with most packaged, bottled developers.
If all that sounds like an exciting way for you to shake up the way you handle and develop your film photography, follow along and find out how to get your feet wet with caffenol in this quick guide!

The Basics of Photographic Chemistry
In order to really understand not just how to use caffenol, but also how to independently devise and perfect your own recipes in the future, it’s important to have a good idea of how photographic chemicals work to make pictures.
At its core, any recipe for processing photographic emulsions consists of the same basic ingredients. There is the developer, which activates the exposed silver halides within the film and does most of the work to render a negative. After the developer is finished, a fixer is added to “fix” the chemical reactions going on inside the emulsion and prevent the film from fading over time.
In between those two steps, some also add a stop bath – a concentrated solution that immediately stops the developer from acting further. This can be crucial when developing film very quickly, as a few seconds here or there may in such cases affect the final result.
Commercial developers can be based on any number of chemicals. Take, for example, Rodinal. One of the most popular modern film development solutions, it was also among the first to be mass-produced.
Rodinal follows a fairly simple recipe (so simple that some actually do make “RoDIYnal” themselves at home), relying mainly on para-aminophenol as its developing agent. It just so happens that a chemically closely related derivative of para-aminophenol, acetaminophen, is one of the cheapest and most widely available painkillers in the world – you might know it as Tylenol.
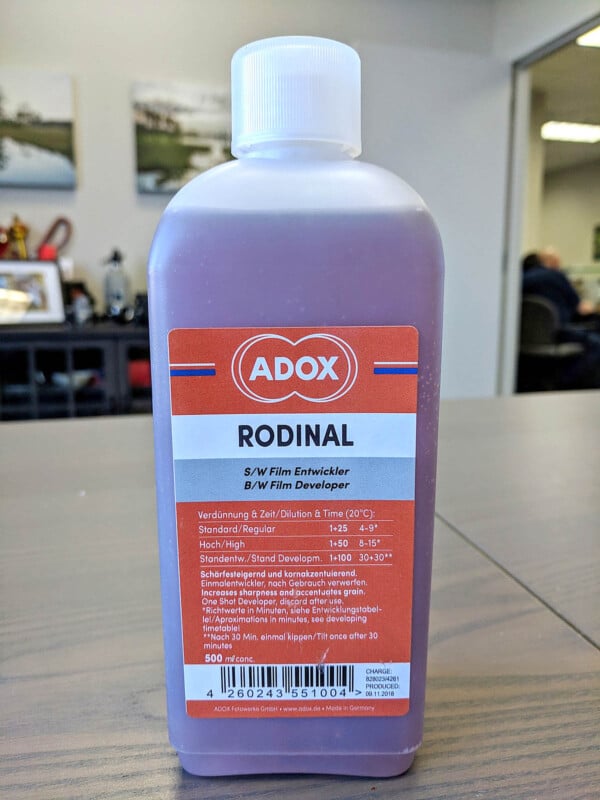
Apart from diluting the para-aminophenol in water, Rodinal further requires the use of a few special salts, such as sodium hydroxide. These are called accelerators, as they speed up the chemical reactions that develop the film and bring them into useful ranges.
Finally, a strong alkaline is also necessary in the mix. This is because film development has to occur at a very specific pH level. In the case of Rodinal, sodium hydroxide fills that role. You might recognize this chemical as caustic soda, the main ingredient in many commercial drain cleaners.
Where Caffenol Comes In
Now, to understand how caffenol works in contrast with a traditional solution, you must first understand that strictly speaking, caffenol only acts as a developing agent. You will still, at the very least, need a separate fixer. Not to worry, that component is also easy to DIY – I will add some tips for that at the end of this guide!
Regarding the developing solution though, it’s not that different from our Rodinal example.
Instead of para-aminophenol or acetaminophen (which you could also use, of course), caffenol uses different developing agents.
As the name implies, the most popular choice here is coffee. The caffeine in coffee is rich in polyphenols, which are the very same compounds that commercial developers use to cause the chemical chain reactions in the film and ultimately develop a negative.
Powdered, pre-ground coffee is much easier to use for making film developer out of, as all you’ll have to do is add it to the appropriate volume of water.
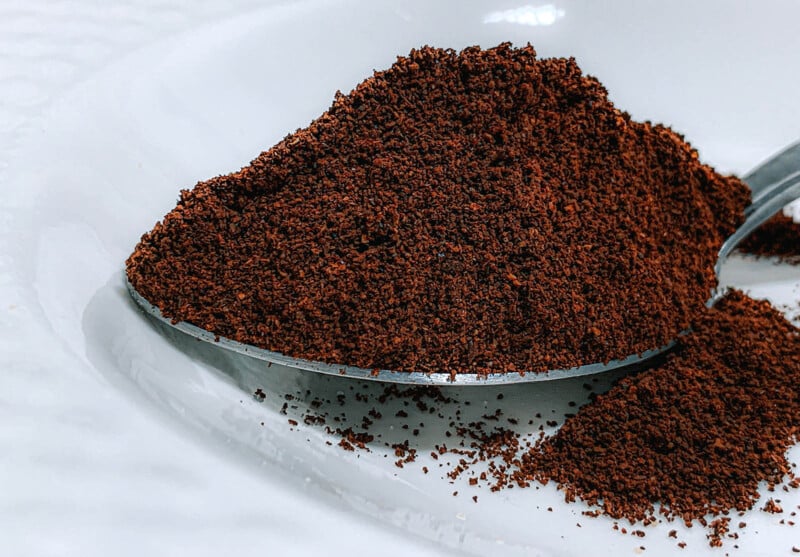
There’s just one problem with the “pure” coffee approach: coffee itself is not that potent in polyphenols, meaning you’ll either have to use a lot of it or prepare for very long development times (we’re talking upwards of a few hours per roll).
This doesn’t look any different when you consider other widespread sources of caffeine, like tea for instance. Most teas are even less potent than regular coffee, so this is actually an even worse option if you care about developing efficiency.
Of course, the answer lies in doing exactly what Rodinal does to achieve its favorable development times: adding an accelerator.
In the case of caffenol as well as most other DIY developers, the cheapest and most effective of these is vitamin C. You can get raw vitamin C in tablet form from any convenience store (make sure to grab the more highly-dosed supplements) and grind it into a powder. That way, it’s really easy to add to a water-based solution.
What vitamin C does is radically speed up the rate of those chemical reactions, to the point where it’s quite feasible to develop a few rolls using a coffee-vitamin C mix in less than 15 minutes.
Just so you know: if you add really generous amounts of vitamin C, the coffee actually becomes optional! At higher volumes, vitamin C is more than potent enough to carry out the entire development sequence by itself. However, adding at least some coffee is more efficient as you’ll need lower amounts of each ingredient, saving you money in the long run.
Finally, just like Rodinal and all other developers, we need to add a so-called activator to the mix to bring the pH level of the solution into a range where the developer will be able to do its job. You could employ the same chemicals that industrial developers also use, like the aforementioned caustic soda (or lye), which should be available in many home improvement stores and the like.
For many people though, one of the primary appeals behind caffenol processing is its friendliness to the environment. If you count yourself among that group, you can improve this recipe a lot by swapping out the potentially hazardous caustic soda for something like sodium carbonate – that’s plain washing soda, and it works wonderfully at a lower price by weight than most alternatives.
A Basic Caffenol Recipe Template
Armed with these three core ingredients – coffee, vitamin C, and washing soda – you’re ready to make your first attempt at mixing a caffenol developer.
As long as you stay within certain tolerances, there’s a lot of freedom when it comes to mixing your ingredients. The below is only one example that I have personally used with some great results. Feel free to adapt it to your needs as you see fit.
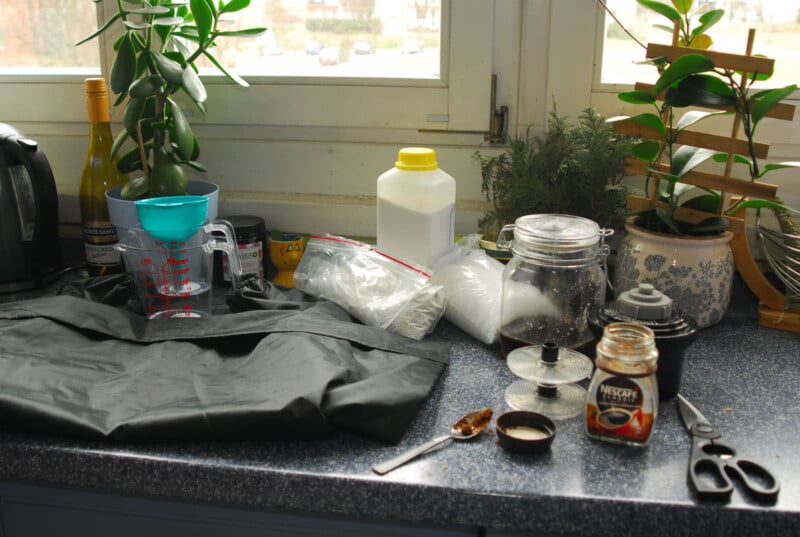
For instance, if you find that the developer doesn’t act fast enough, all you need to do is increase the concentration of vitamin C in the solution.
Without further ado, here is the full recipe!
- First, let about 5 teaspoons of your coffee dissolve in approx. 250 milliliters of water.
- Stirring gently, add in 5 teaspoons of the washing soda.
- Using a mortar, a hammer, a heavy boot, or any other tool of your choice, crunch up 6,000 milligrams of vitamin C tablets and add them to your solution.
- Keep stirring until all of the ingredients have dissolved.
- Done! Let the developer sit for at least 24 hours before using it for the first time. Store in a sealable jar away from sunlight.
This mix should be simple and cheap to prepare, doesn’t take long to “cook”, and makes for a reusable developer that should be able to generate crisp negatives in under an hour.
Exact times will vary depending on film speed and other factors, of course. For me personally, this specific recipe has worked wonders on 100 ISO film at 30 minutes, for instance.
The Diverse World of Caffenol Recipes and Alternatives
Now that you are familiar with the basic caffenol recipe, let me take a moment to underline that the above is but one of the countless possible combinations of different ingredients that you can use.
In our template recipe, coffee acts as the developer while vitamin C is the accelerator. However, plenty of people go around the low polyphenol concentration of coffee by employing different ingredients instead, completely forgoing the need for vitamin C!
For example, I’ve seen some really successful results coming from red wine and basil. Other recipes, including some based on beer, different kinds of fruit or vegetable juices, as well as common herbs, are tons of fun to play around with and can generate stunning images with a unique look.
If you do want to use coffee, tea, or something of similar strength as your developer, note that are many other accelerators you can use in place of vitamin C. These range from vanilla extract to iron and many other metal and mineral-based supplements.
A Simple DIY Recipe for Plain Hypo Fixer
Now that you know how to make your own caffenol developer, there’s one more thing you need to learn to be able to bring your images to life. As mentioned previously, a whole film development kit consists of (at least) the developer, which you just learned to make, and a fixer.
Many people working with caffenol decide to rely on store-bought fixers instead of making their own. After all, they’re cheap and widely available in most photo supply stores.
Still, creating your own fixer is not just simple and fun – it can save you a lot of pocket change in the long run while also teaching you more about film chemistry!
One of the simplest recipes for fixer is also among the most effective. In fact, the following is the recipe that was used throughout most of the early history of photography and continues to be employed as a base for more complex commercial-grade fixers!
You will only need one ingredient apart from plain tap water, which is sodium thiosulfate. Very popular in photographic chemistry, it’s also used to purify chlorinated water, so your local pool supply store might carry it.
Simply add one liter of tap water to a pot, put it on heat to boil, and wait for it to cool down to about 50 degrees Celsius. Then, add 250 grams of sodium thiosulfate. Wait for it to dissolve (which should happen quickly), and there you have your fixer!
This basic recipe is known as “hypo” in the film photography world. A shot of plain hypo like this is very effective and can fix most films within 5 minutes or less. However, it’s not the most long-lived recipe. You may add other salts, such as sodium bisulfate, to increase the shelf life of the fixer dramatically and allow it to be re-used many times.
Some caffenol users go even further – further back to the past, that is – by utilizing the fixer of choice during the pre-hypo era: saltwater! Sodium chloride is related to the other compounds used in hypo fixers, and it does a fine job in high concentrations. However, you’ll need a lot of table salt, as much as 300 grams per liter of water or more.
Also, fixing with salt takes something in the order of hours, even days at lower concentrations, so it’s definitely not for the impatient or those with hundreds of rolls of film lying around.
The Results of Caffenol Development
After all that hard work, what kind of photographs can caffenol generate? The answer will depend not just on how you craft your developer, but on how you use it, too.
One aspect of DIY film development that’s often neglected is technique – that is, how you handle your film while it’s cooking up those images. Everything from how you load your roll into the development tank (or whether you use a tank at all) to how you agitate, or stir, during development makes a significant difference.
Diluting your chemicals differently, allowing for totally different development times at your preference, will also have an effect.
With all that said, it is more than possible to create film negatives with caffenol that display the same levels of visual fidelity and fine detail as you would get from store-bought chemicals. At the same time, you can maintain a high degree of creative control over the “look” of your final image.
![]()
Take this photo, for instance. I was mesmerized by the way the light played with the grating on this gated wall close to sundown and wanted to compliment it with a moody, washed-out look.
To that end, I toyed with composition and tried to create a soft focus effect through the lens. Later, I went and diluted my caffenol developer by about 50{dec81a57ec3e1a4623dd7cc80e0ee00b94fc00706d110c43e3c0c8fbfc0c9a3d} and left it in the tank for one hour with very little stirring. The little specks you see all over the negative are probably residue from the coffee or the vitamin C that stuck to the emulsion.
![]()
For comparison, take a look at this! True, I took this picture with a completely different kind of camera (an SLR instead of a scale-focus compact), but the film stock and the developer recipe were identical.
Capturing the interior of this vintage car in pure daylight might have been tricky to pull off right. Still, there’s no faulting the way the film, developed in coffee and vitamin C, rendered the exposure.
Here are some other film frames developed with caffenol:
![]()
![]()
![]()
There’s really no limit to what you can do once you understand the power of caffenol. From high-fidelity photography on a budget to a gateway to unique, idiosyncratic effects, developing at home with home-brewed recipes can be a great creative challenge and a rewarding skill to master.
Image credits: Header photos by George Hodan


