Nail your exposure for Worldwide Pinhole Photography Day.
You’d be forgiven if you didn’t know that April 28, 2024 is Worldwide Pinhole Photography Day. Yes, on this rapidly approaching date, lens-less photographers around the world will aim their collective cameras at capturing a unique focus-free slice of daily life.
Ask any veteran pinhole photographer, however, “What’s the most difficult challenge for creating a successful pinhole image?” The answer is almost invariably “determining the correct exposure.”
As you can imagine, producing a successful pinhole print is fraught with several significant barriers: first and foremost, buying/making a pinhole camera; second, determining a proper exposure for producing a viewable print; and lastly, developing/printing the exposed film. While you could opt for a digital solution, an analog photographic process seems much more appropriate for capturing a pinhole photograph. Doesn’t it? And therein lies a big potential roadblock: how do you KNOW that your exposure is correct?
One solution to confront this problem is to add instant process photographs to the pinhole camera setup. This 60-second, from snap to successful pinhole pic, development sequence eliminates exposure worries and lets you focus on your creative inspiration instead.
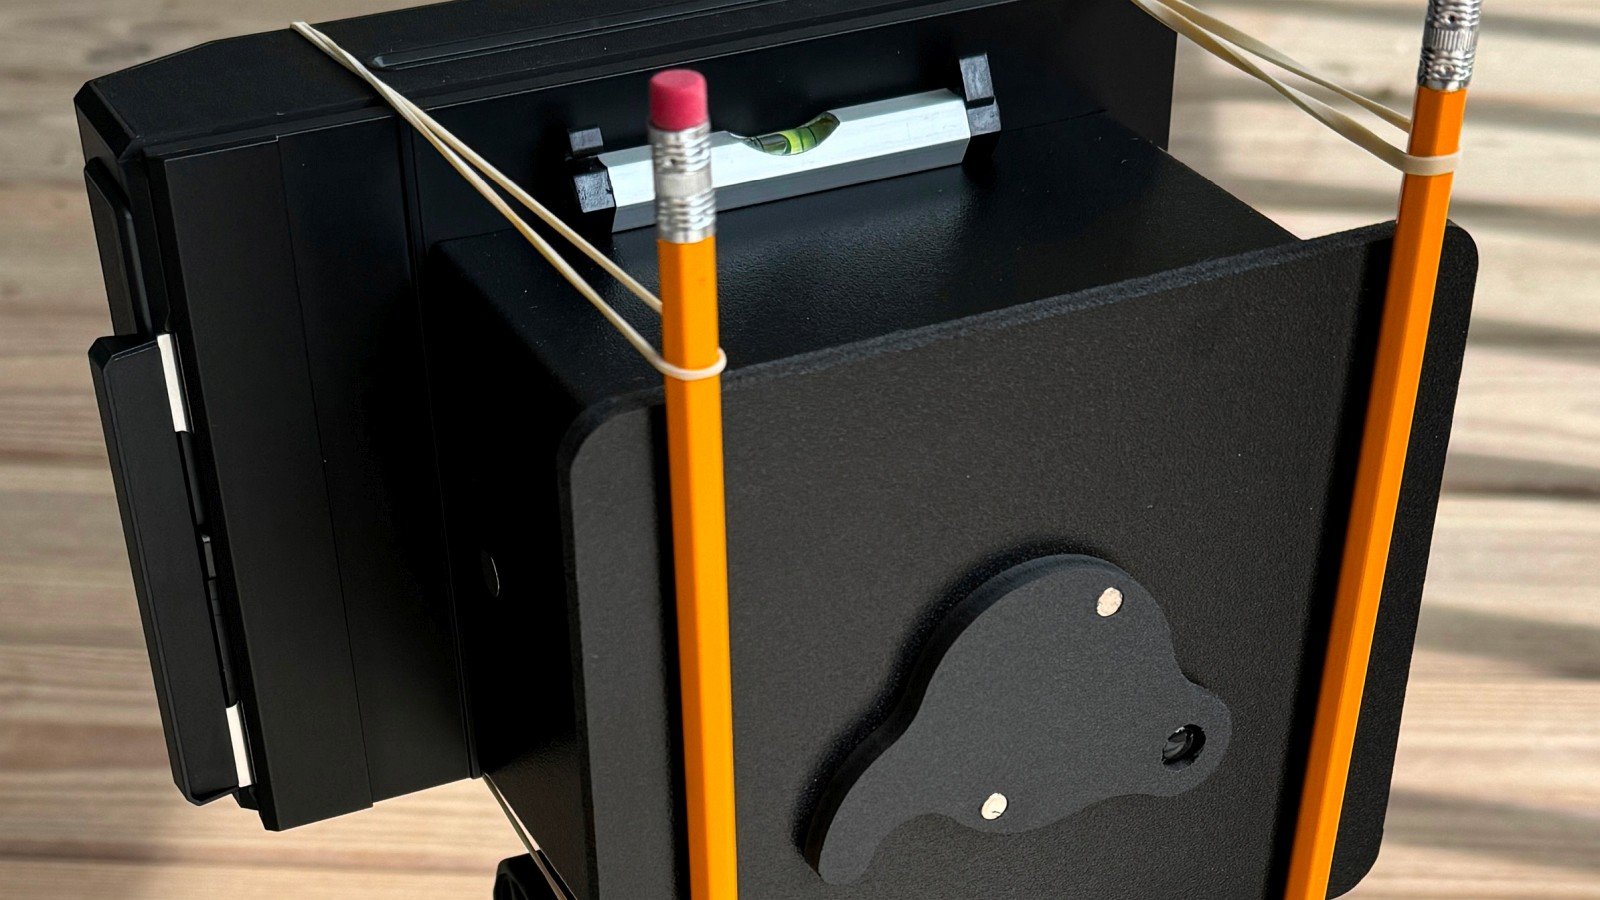
So, how is this impossible-sounding solution created? Merging two strange bedfellows from opposite ends of the analog film industry together results in the 4×5-inch professional-grade instant pinhole camera shown in Figure 1.

At one end, there is Ilford, the trusted, venerable, time-honored supplier of photographic film and paper–and distributor of the 4×5 Obscura Pinhole Camera (see: ilfordphoto.com/obscura-by-ilford-pinhole-camera). Sitting at the other end of this spectrum is Lomography, the trendy, everything hipster plastic camera manufacturer–selling the LomoGraflok 4×5 Instant Back. Oh, and somewhere in between these two is FUJIFILM Instax Wide instant film – the media fueling this pinhole photographic project.
What You’ll Need


Putting your pinhole together
Assembling this crazy-looking contraption couldn’t be easier. Here’s a general construction overview:
Step 1: The two pencils will act as attachment posts for holding the Lomography LomoGraflok back firmly against the Ilford Obscura’s pinhole exposure box.
Step 2: This attachment is secured with the elastic bands. An average band isn’t long enough to travel around both the LomoGraflok back and the exposure box. Therefore, two extra-length elongated bands are fabricated by looping one elastic band inside the another band and pulling it tight. This will make two super-long bands from four normal bands.
Step 3: The Ilford Obscura exposure box is constructed from an expanded polyvinyl chloride (PVC) sheet that is formed with a loosely connected finger joint. This joint is a light leak source that must be covered with opaque tape like in Figure 4. [Note: the nested box construction of the Obscura eliminates light leaks during “normal” 4×5 sheet film use.]

Step 4: Hold the LomoGraflok back with the shiny metal dark slide side tightly against the open side of the Obscura exposure box and lay the two pencils on either side of the pinhole exposure shutter. Ensure that the taped finger joint of the exposure box is on the bottom of this configuration. You can verify this orientation by making sure the tripod socket on the LomoGraflok back is next to this taped joint. Now loop one elongated band over a pencil end, run it around the backside of the LomoGraflok back, and loop its free end over the other end of the same pencil. Repeat this band looping with the other pencil. The back should now be held securely against the exposure box.
Step 5: Gently slide the pencils and elastic band loops away from the LomoGraflok back film loading door. Likewise, don’t cover the film ejection slot (see Figure 5).

Step 6: Load a pack of Instax Wide film and go hunt for a slice of lens-less life.
Congrats! Here are some final notes about your new pinhole camera
The final project is as exciting as this description sounds. There are a couple of notes to remember, however:
- Instax Wide film has an ISO 800 film speed. This can result in exposures ranging between 1-5 seconds. Therefore, a tripod (or, solid surface) is mandatory. Make sure your camera setup can fit on your tripod before you begin a photographic journey.
- Ilford includes an exposure calculator wheel with the Obscura. Use this tool as a starting point for determining an ideal exposure.
- Once built, this is a wild-looking contraption. Remember, you will garner a LOT of attention with your camera mounted on a tripod. In fact, during testing, I had to explain to the police the purpose of the “thing” I was carrying around town. Consider yourself, warned.
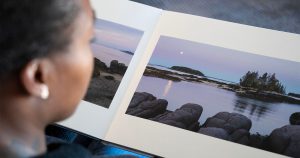
Once built, this camera will enable anyone to create instant pinhole photographs without worrying about “losing” a once-in-a-lifetime image due to a poorly guessed exposure. Figures 6a and 6b demonstrate an example image.


Enjoy.


