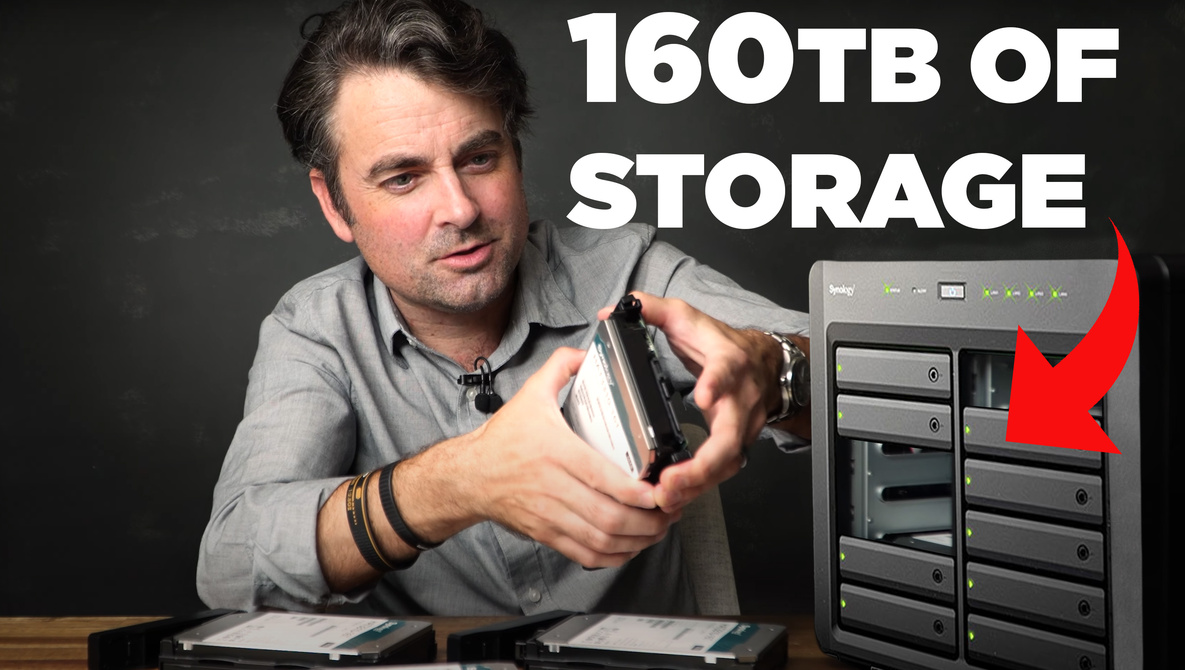
Every couple of years, our network access storage (NAS) gets nearly full of old photoshoots and video projects. Today, I am installing our biggest system yet, and it can hold a whopping 160 TB of data. Oh, and it’s also 10 GbE, which allows us to edit video projects directly off the network.
Over the years, we have owned quite a few different NAS options. My first experience with a large storage array was with a Drobo storage system. They recently went bankrupt in 2023, and that system always seemed to give me connection and drive problems throughout my wedding photography career. Back when Lee and I started Fstoppers, we moved over to a true storage system that could be accessed through our business network. There are a ton of options for NAS products, but instead of building our own and leaving room for our own errors, we decided on a Synology system. Synology offers products that are pretty turnkey-ready, and their customer service has always been quick to help us out if something pops up.
The first NAS system we had in the Fstoppers office was the DS1817 8 bay drive system. Then we added an expansion pack, the Synology DX517, to give us a little more storage. Then we moved over to the Synology RS18017xs+ system, which, looking back, was a bit overkill for our needs. If you want to read about that install, here is the Fstoppers RS18017xs+ article is here, but keep in mind, that unit has since been updated by Synology. Well, recently we filled that unit up, and so for our next network access storage, we wanted something that wasn’t as industrial as the rack system but gave us more storage than the DS1817 system.
That’s where the Synology DS3622sx+ comes in. This is one of the most robust storage options Synology offers before jumping into their true enterprise-grade systems. This drive enclosure holds 12 SATA hard drives, comes with 16 GB of DDR4 ECC RAM, has 2 10 GbE ethernet jacks already installed, and runs on a fast 2.2 GHz Intel Xeon D-1531 Six-Core processor. Without having to add any extra components, this workhorse would be perfect for most photographers and videographers looking for a storage solution that not only gives them drive protection but also allows them to edit and work directly off the device without having to move files over to their computer.
Plus Series Hard Drives
Of course, once you buy any NAS enclosure, you are going to need to fill it full of hard drives. Depending on what size drives you purchase and what RAID configuration you set up, you can get anywhere from 80 – 200 TB of storage. In the past, and with some of Synology’s other NAS enclosures, you could buy any model of hard drive from Synology’s compatibility list and simply fill the system up. Recently, Synology has made a rather controversial decision to only support and recommend their own proprietary drives, the Synology Plus Series Hard Drives, which are made by Toshiba.

At the time of this article, the Western Digital 12 TB Gold drive is retailing at $279 and a comparable 12 TB Iron Wolf drive by Seagate is selling for $259. The Synology Plus Series 12TB Drive is currently $279 each, which isn’t as big of a deal as some people online make it out to be. The advantage of the Synology-branded hard drives is that you can update each hard drive’s firmware directly from the Synology DiskStation Manager without having to remove the drives, and Synology also warranties all of their drives directly, so you aren’t having to go through another manufacturer’s RMA department while the two companies try to place blame on each other. With a system like this that easily runs upwards of $5,000, spending an extra $240 for Synology’s Plus Series drives might be worth the saved headache down the road.
That Sweet 10 GBe Speed
One of the biggest advantages to owning a NAS in the first place is being able to store your images and videos on a RAID system but then also being able to edit from it directly. My old DROBO system, and most USB-connected devices, are way too slow to edit off of directly and require files to be transferred back and forth from your workstation to your backup data solution. Even connecting your computer to a NAS that is using the standard 1 Gb ethernet connection is not fast enough to allow snappy, real-time editing in programs like Adobe Premiere, After Effects, and sometimes even Photoshop.
That’s where a 10 GBe connection comes in. This connection looks just like your normal RJ45 connection, but it is 10x faster than a typical 1 GB connection. If you have a desktop computer and have installed something like the Sonnet 10GBe PCI ethernet adapter, you can immediately start using 10 GBe simply by connecting a high speed Cat5/6/7 cable between your computer and your NAS. If you bought an older Synology NAS that doesn’t offer this faster connection, most of their units have a PCI expansion slot that you can plug in the Synology 10GBe PCI expansion adapter and effectively upgrade the speed of your drive. In the case of this new Synology DS3622sx+ system, it has two 10GBe connections, which we can use link aggregation to bond both ports and have a total of 20 GbE of bandwidth. Doing this won’t increase our read/write speeds, but it will help keep fast connections when multiple computers start pulling demanding data across the network, so definitely bond the connection if you are also streaming movies, gaming, or have other staff editing 4K footage and batching RAW files.
If you are trying to edit off your laptop which doesn’t have either a 2.5 GBe or 10 GBe ethernet adapter built in, you can use a simple 2.5 GBe USB 3 adapter to slightly speed up your workflow, or if you want the full 10 GBe capability, unfortunately, you are going to have to splurge with something like the OWC 10GBe Thunderbolt 3 adapter in order to make the most of your 10 GBe NAS device.
Don’t Forget Your Switch
Speaking of bonded connections and having multiple people editing from your NAS, if you don’t already have a 10 GbE switch that allows multiple connections, now is the time to upgrade that too. As I said earlier, you can immediately start using a 10 GbE connection between your computer and NAS simply by connecting them together with no other device between them. But if you want to make your NAS accessible to anyone on your network, you will have to place a 10 GbE-compatible switch between them.
 Although you can find smaller switches with just 2-4 10 GBe connections, I personally recommend biting the bullet and getting a managed switch that has 4-8 10 GBe connections so you are ready for additional high-speed connections. I recommend the Netgear MS510TXPP 8 Port Gigabit switch because it has Power Over Ethernet and gives you more configurations as it’s a managed switch. Of course, you can also connect a slower and cheaper 1 Gb multi-port switch to your network so you can plug up slower devices like printers, Wi-Fi access points, and other less demanding connections.
Once everything is hooked up correctly, you should see a dramatic increase in both read and write speeds between your computer and NAS. With a slower 1 Gb connection, at best, you will see transfer speeds of 125 MBps (but often even slower). With a properly connected 10 GbE connection, you theoretically can reach transfer speeds of up to 1,250 MBps. The bottleneck will now probably be with your NAS and computer’s hard drives, but you should see speeds around 300-500 MBps.

For the photographer or videographer, this upgrade alone can save you so much time and frustration. If you use the fastest USB-C memory card readers and fast V60 or V90 Sandisk Memory cards, you can now easily transfer multiple cards from a shoot to your NAS in minutes instead of hours. Rendering and lag-free playback in Premiere makes editing videos from your NAS a pleasure, and editing and exporting from Lightroom and Photoshop are now as fast as ever. In fact, once you move to a workflow system this quick, you might find yourself constantly checking all your read/write speeds on different devices and accessories simply because it makes such a big difference in performance.
Conclusion
So what do I think now that I’ve had the new Synology DS3622xs+ up and running for a few weeks now? It’s no shock that it runs as seamlessly as the other devices we have had, and unlike the rack system, which was incredibly noisy, this NAS is as quiet as the others in our tech closet. The QuickConnect system allows us to remotely access all of our files no matter where we might be in the world, and the Synology DiskStation Manager OS is super intuitive and easy to use.
Whether you are expanding, upgrading, or, heaven forbid, replacing your old NAS array, it’s never a cheap process, but as I said earlier, it’s best to do it right and build out something that will fit your needs longer than you think than to install a system that gets filled up too quickly. If you want to see how to initiate and install all the software for this Synology NAS build, check out the video above. If you have any questions or want to share your own experiences with a Synology NAS or perhaps one you’ve built yourself, feel free to leave me a comment below.


