Most photographers strive to “get it right” in the camera so they don’t have to resort to serious post processing to fix the image. Unfortunately that’s often difficult—if not impossible—when shooting outdoor scenes with a wide range of tones that exceed the density range of their cameras.
Here’s the problem in a nutshell: if you expose for the highlights, the shadows are crushed and devoid of detail. Conversely when exposing for the shadows, highlights may also lose detail because the bright areas of the scene become blown out. In both cases it’s a difficult task to fix these poorly exposed images during the editing process.
And even when you expose for tones in the middle, you’re likely to encounter problems with both highlights and shadows. So what’s the secret to creating a well-balanced image that looks like what you observed through the viewfinder?
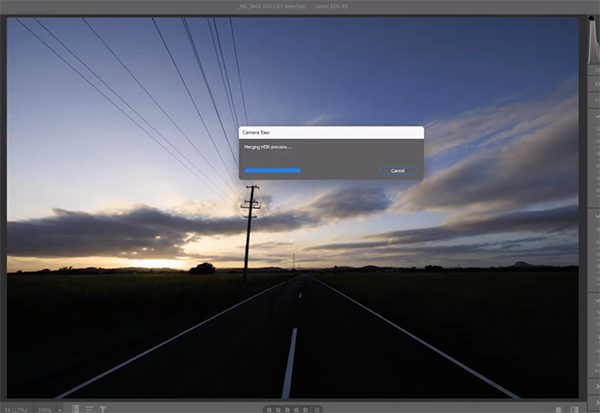
One straightforward solution is to capture three images of the same scene, each using different exposure settings; one targeting highlights, another for midtones, and the third exposed for the shadows. Once you’ve done that it’s a simple matter to merge the multiple images in Photoshop to achieve a single photograph with perfectly exposed highlights, shadows, and all the tones in between.
If this technique sounds overly complicated Barry Beckham will assuage your worries in the six-minute tutorial below, demonstrating how easy it is for photographers of all skill levels to get the job done. He specializes in tutorials for amateur shooters that demystify seemingly difficult tasks, and this episode is a great example.
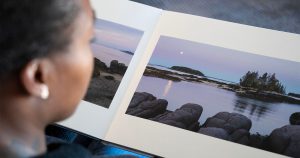
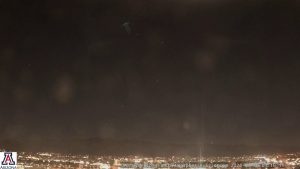
Beckham begins with a trio of images each with “half the exposure of the previous one”—with the original shot made using the exposure recommended by the camera. The first image isn’t what you’d call great, the second has unacceptably dark shadows, and the highlights in the third shot are clearly too bright. In other words, without merging all three in Photoshop, you’re left with a choice of compromises—none of which provide the type image quality you want.

By following Beckham’s clearly described instructions for merging your trio of photos, the result you’ll achieve will exhibit the benefits of all three—with none of their image-killing drawbacks. And once you get the hang of it, which doesn’t take long, you’ll find yourself using this technique frequently for all sorts of outdoor photos you shoot in difficult light.
After watching the video explore what’s available on Beckham’s instructional YouTube channel, especially if you’re rather new to the photographic game. By doing so you’ll be able to easily and quickly elevate your shooting and editing skills
On a related note, we also suggest watching the recent tutorial we posted from another accomplished expert, explaining how to shoot dramatic landscape photographs when the sky is a boring, featureless blue.


